Install and Configure Arch Linux in WSL/WSL2 with GUI
Contents
This post is divided into two parts: (i) Install Arch in WSL, (ii) Configure as per your needs. Each part can be followed independently so if you are not a fan of GUI programs in WSL, leaving the part is perfectly fine.
Part 0: For those running Windows 10 2004 or above
Download and install Linux kernel updae package from Microsoft’s site. Set default version to WSL2 by running
|
|
Part I: Installation
Automated installation
Assuming you have Scoop installed, this part reduces to
|
|
Manual installation
Head to https://github.com/yuk7/ArchWSL/releases and download the .appx and .cer files.
Now double click the .cer file and follow the prompts to install the certificates neecssary for the installation of Arch WSL. When done, double-click the .appx file to install it.
Once there, open Arch from Start menu and let it install. When done, you should see an installation complete message. If you encountered problems with the installation, see the issues at https://github.com/yuk7/ArchWSL/issues. If there is none, feel free to open an issue.

Oh, it's completed...
Part II: Configuration
Open Arch again. It should be logged in as root.
Uncomment the servers closest to your region in /etc/pacman.d/mirrorlist. Now run pacman -Syyu to fetch and install updates.
If you get invalid or corrupted package (PGP signature) error, do not delete the downloaded packages. Run the following commands one by one as root
|
|
It should install fine.
Create a normal user account
Running everything as root on a normal machine is a pretty stupid idea. Create a normal user:
|
|
It will add a user with whatever you used in <username>. Set a password for this user with
|
|
Uncomment the following line after running visudo:
|
|
Time to install a Desktop Environment
First, we install xorg, xorg-server and then xfce4. You may install a desktop environment of your choice.
|
|
While the DE is being installed, grab VcXsrv or (again) you should be fine with your favourite X Server. Alternativaly it can be installed via scoop with
|
|
Hit Win+Q, type XLaunch and hit Enter. Once there, select One Large Window (just for the sake of it, if you wish to see the DE in action). Check Disable access control, leave the rest as is and click Next ad then Finish. Allow access if prompted by firewall.
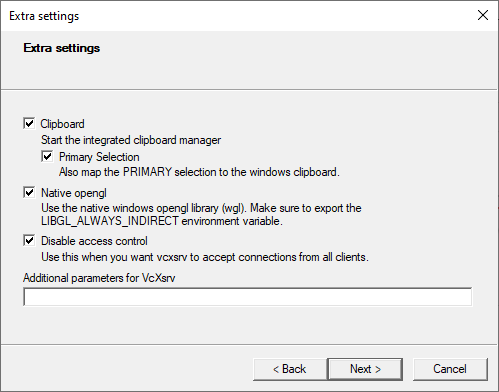
VcXsrv extra settings
Result
Linux programs look native to Windows
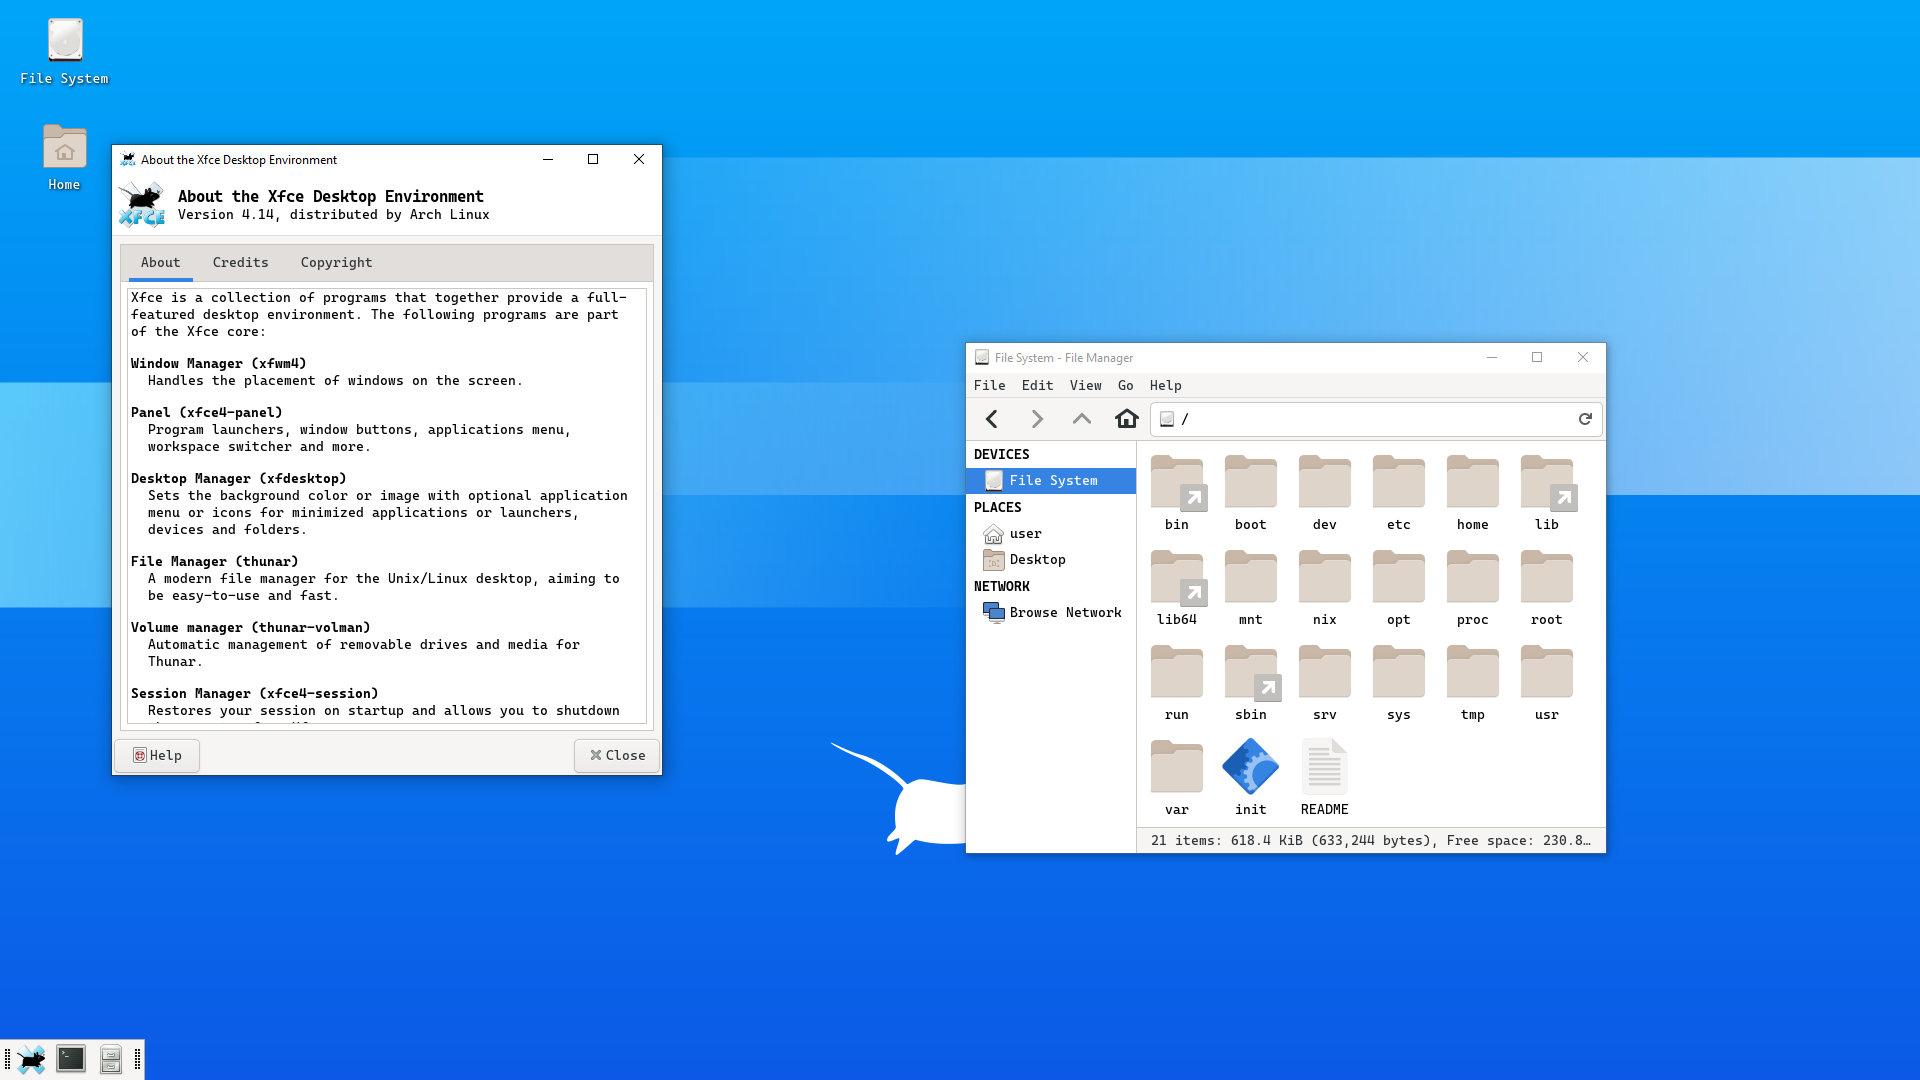
These programs maintain Windows title bar on the desktop environment
Author Aditya
LastMod 2022-08-11 (76057f1)