Make Powershell Fancier With Windows Terminal
Contents
because why not
Install PowerShell Core
Or you can continue using PowerShell 5.1 if you wish.
From GitHub
Grab the installer from their releases page. Once downloaded, double-click the installer and follow the instructions.
Using Scoop
Enter the line in PowerShell:
|
|
Instructions to install Scoop can be found at scoop.sh.
Using Chocolatey
Enter the line in elevated PowerShell:
|
|
Instructions to install Chocolatey can be found at chocolatey.org.
Install Windows Terminal
Get it from Store or from GitHub releases. I recommend getting it from Store as it can be updated automatically.
Or you can install via Chocolatey by entering
|
|
Again, in elevated PowerShell.
If you are using Scoop then it would be
|
|
The interesting part begins.
Next, open Windows Terminal. Once there, use the drop down arrow to open PowerShell Core.
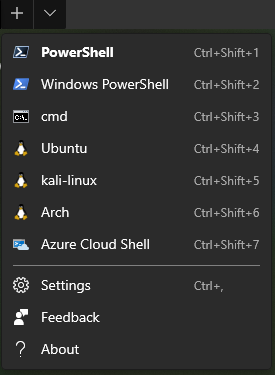
The shells listed depend on the shells installed on your computer.
As per the instructions here, install posh-git and oh-my-posh. It is assumed that you have git installed (you can use Chocolatey or Scoop if you wish).
|
|
Next, get PSReadline
|
|
Now, add the folllowing lines to your $PROFILE by running vim $PROFILE. Please note that Notepad also works.
|
|
Line 3 sets theme. You can get a list of themes here.
Time to get a better font
Those boxes don’t look quite nice.
Cascadia Code is my personal favourite. Download the fonts and change the font face to “Cascadia Code PL” in settings.json (it can be opened by pressing Ctrl+,, if you hadn’t noticed already).
|
|
Or you can install other fonts that support PowerLine Glyphs from Nerd Fonts
Add a background
One of the fun things about Windows Terminal is that you can set backgrounds and opacity or apply acrylic blur, which will be covered in the next section.
Open settings.json and add the following lines
|
|
Use acrylic
Remove the lines used to set the background and add the following lines
|
|
Next Step
Enjoy.
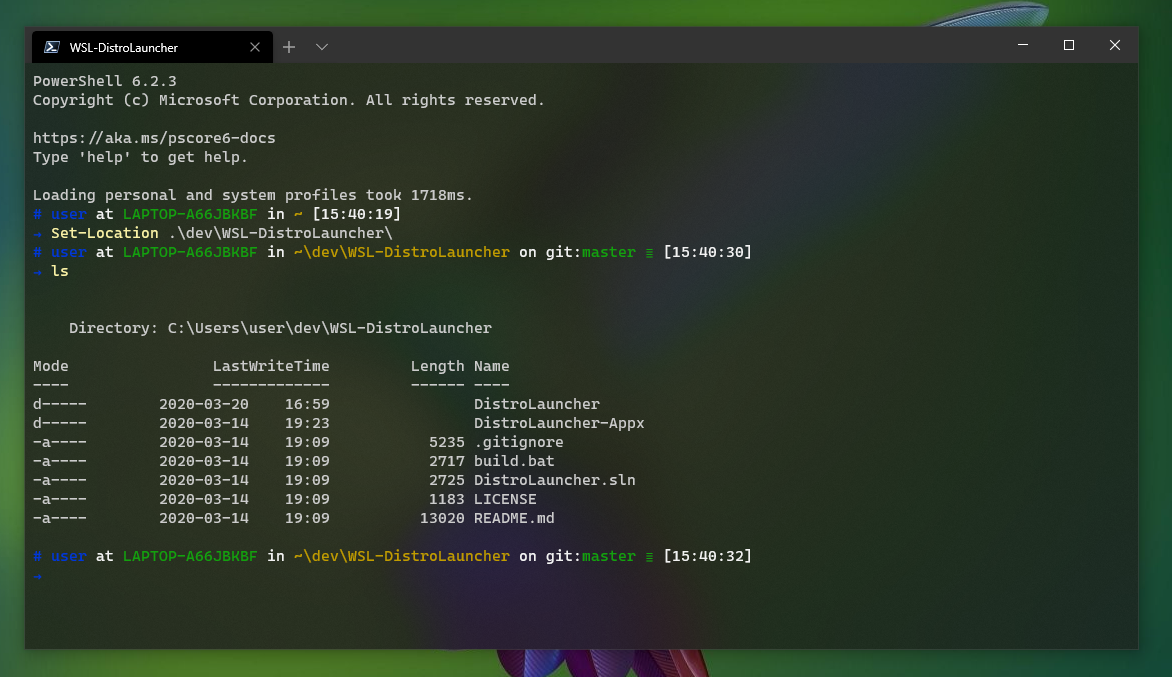
Final result
Author Aditya
LastMod 2022-04-29 (832b7a8)